Hanging a bathroom mirror may seem like a very simple task, but, although it is not something complicated per se, it can lead to small complications if it is not done correctly and with proper care. A slight mistake can lead to an unwanted breakage or a household accident that is easily avoidable with the tips and tricks that we are going to give you below.
Tip: The ideal is to carry out the entire installation process with help.
List of necessary tools:
- Meter and pencil
- Level
- Drill
- Masking tape
- Wall plug
- L-hooks
- Corner protectors
- Connections Box
The first step: Prepare the place where you are going to install the mirror
The area should be as clear as possible of any other element that could disturb or interfere during the installation process.
Once the work area is ready to begin we will cut off the mains power. We will carefully remove the product by placing the corner protectors at the bottom and check that all the included materials specified in the instructions come with it. (Dowels, protectors, plugs, connection box.)
At what height is the mirror placed?

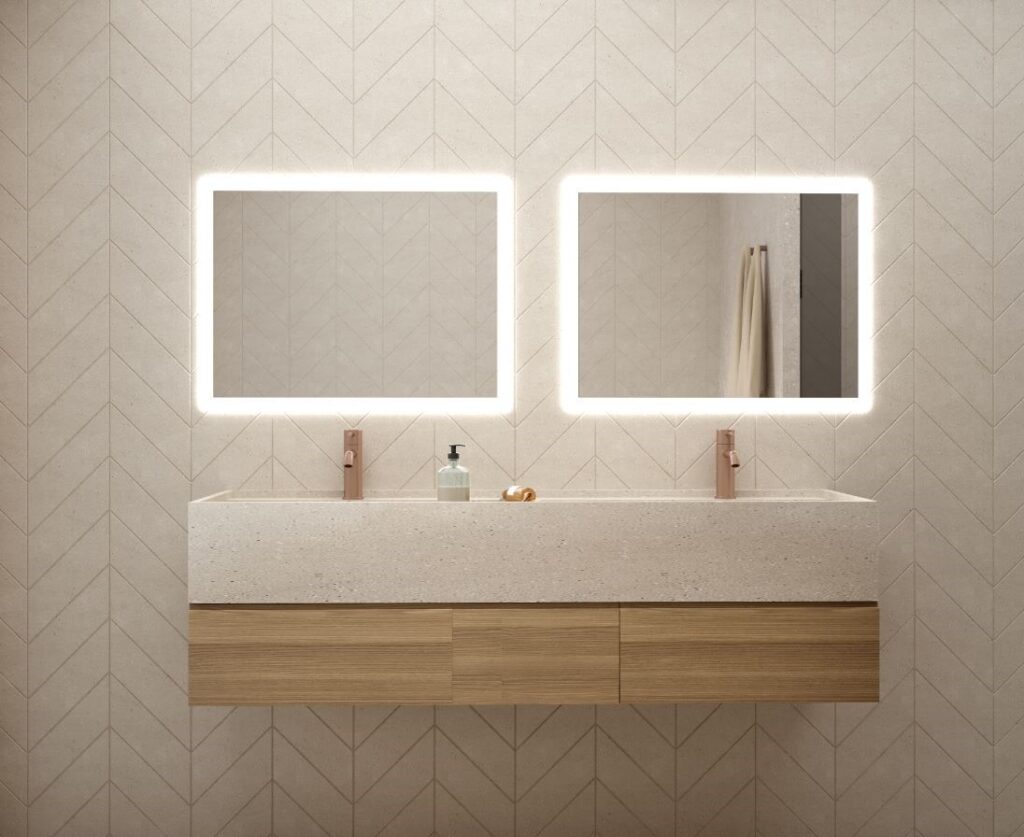
This is perhaps the most widespread doubt among all people who buy a mirror for their bathroom for the first time. What is the ideal height to hang it? Well, what professionals in the sector say is that there should be approximately 15cm from the sink to the base of the mirror so that the center of the mirror is in most cases centered at the user's eye level.
Place the brackets on the wall
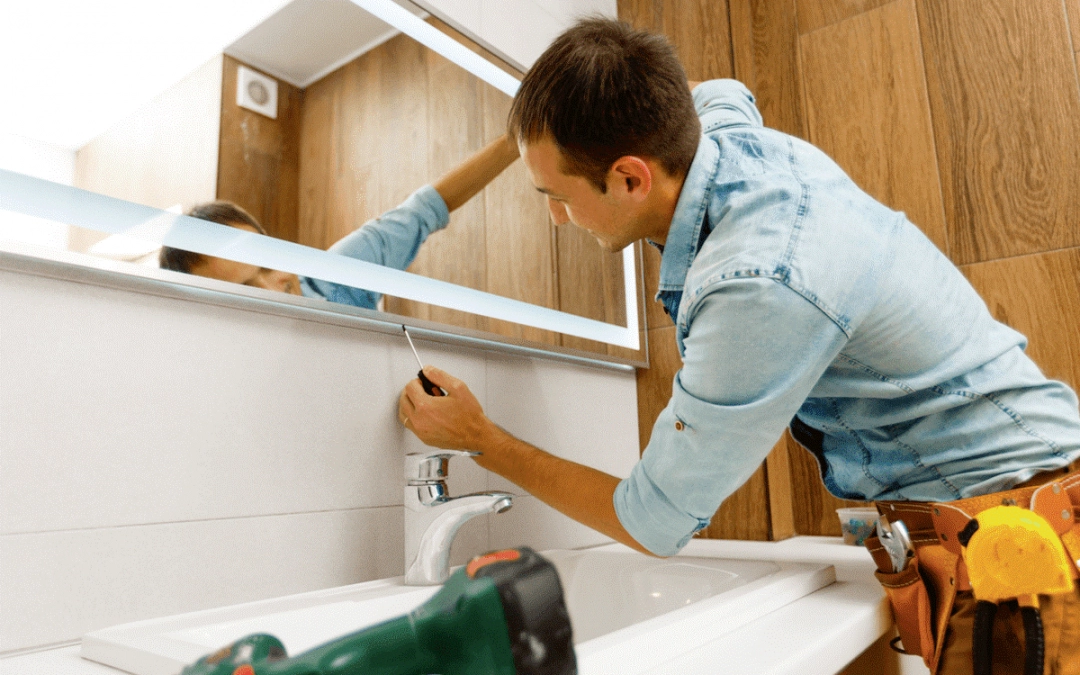
The vast majority of wall mirrors are fixed using supports. To place them, follow the instructions that accompany each product, use the hangers as a reference to mark the distance of the holes or use the templates that some models usually include. These are attached to the wall with masking tape so that they do not move during the process.
Using a level, check that the marks are at the same height. Also check that the center of the sink is between the two marks so that the mirror is right in the middle of the sink.
Tip: If the wall is tiled, try, as much as possible, to drill in the joint between 2 tiles.
We must also check that no pipes or electrical cables pass through the area in which we are going to drill.
Once the drilling has been done, we will place the plugs in the holes and the plugs inside them, leaving them protruding 1cm from the wall.
Connection to the electric grid
The first thing is to check if the connection box has a ground connection (green-yellow cable), if it includes connecting to the green-yellow cable of the electrical network.
We will connect the brown cable and the blue cable (phase and neutral) to the brown and blue cables of the electrical network respectively. Once they are all connected, we will close the box again with a cable gland. Tip: If the connection cable is too long, it can be loosely attached to the wall with masking tape.
Installing the mirror on the brackets
We double check with the level that the supports are aligned horizontally and that the mirror is centered before fixing it to the supports. Depending on the model, the type of fixation may vary, it may be that it is held only in the hooks or that it requires some tight screws. We must be careful with the mains power cable, that it is not under tension or pinched.
Once we are satisfied with the result, we can reconnect the electrical network and test that our mirror and its elements work perfectly. (Light, anti-fog, etc…)
Remember: Both hanging the mirror and electrical installation are always recommended to be carried out by a qualified professional. These are general instructions, you must always follow the manufacturer's instructions.
